I've been away for a while...so many projects on my list to accomplish before this new addition to our family arrives in January...and so little time! But I wanted to share this quick project I did to add a little something to our dining room:
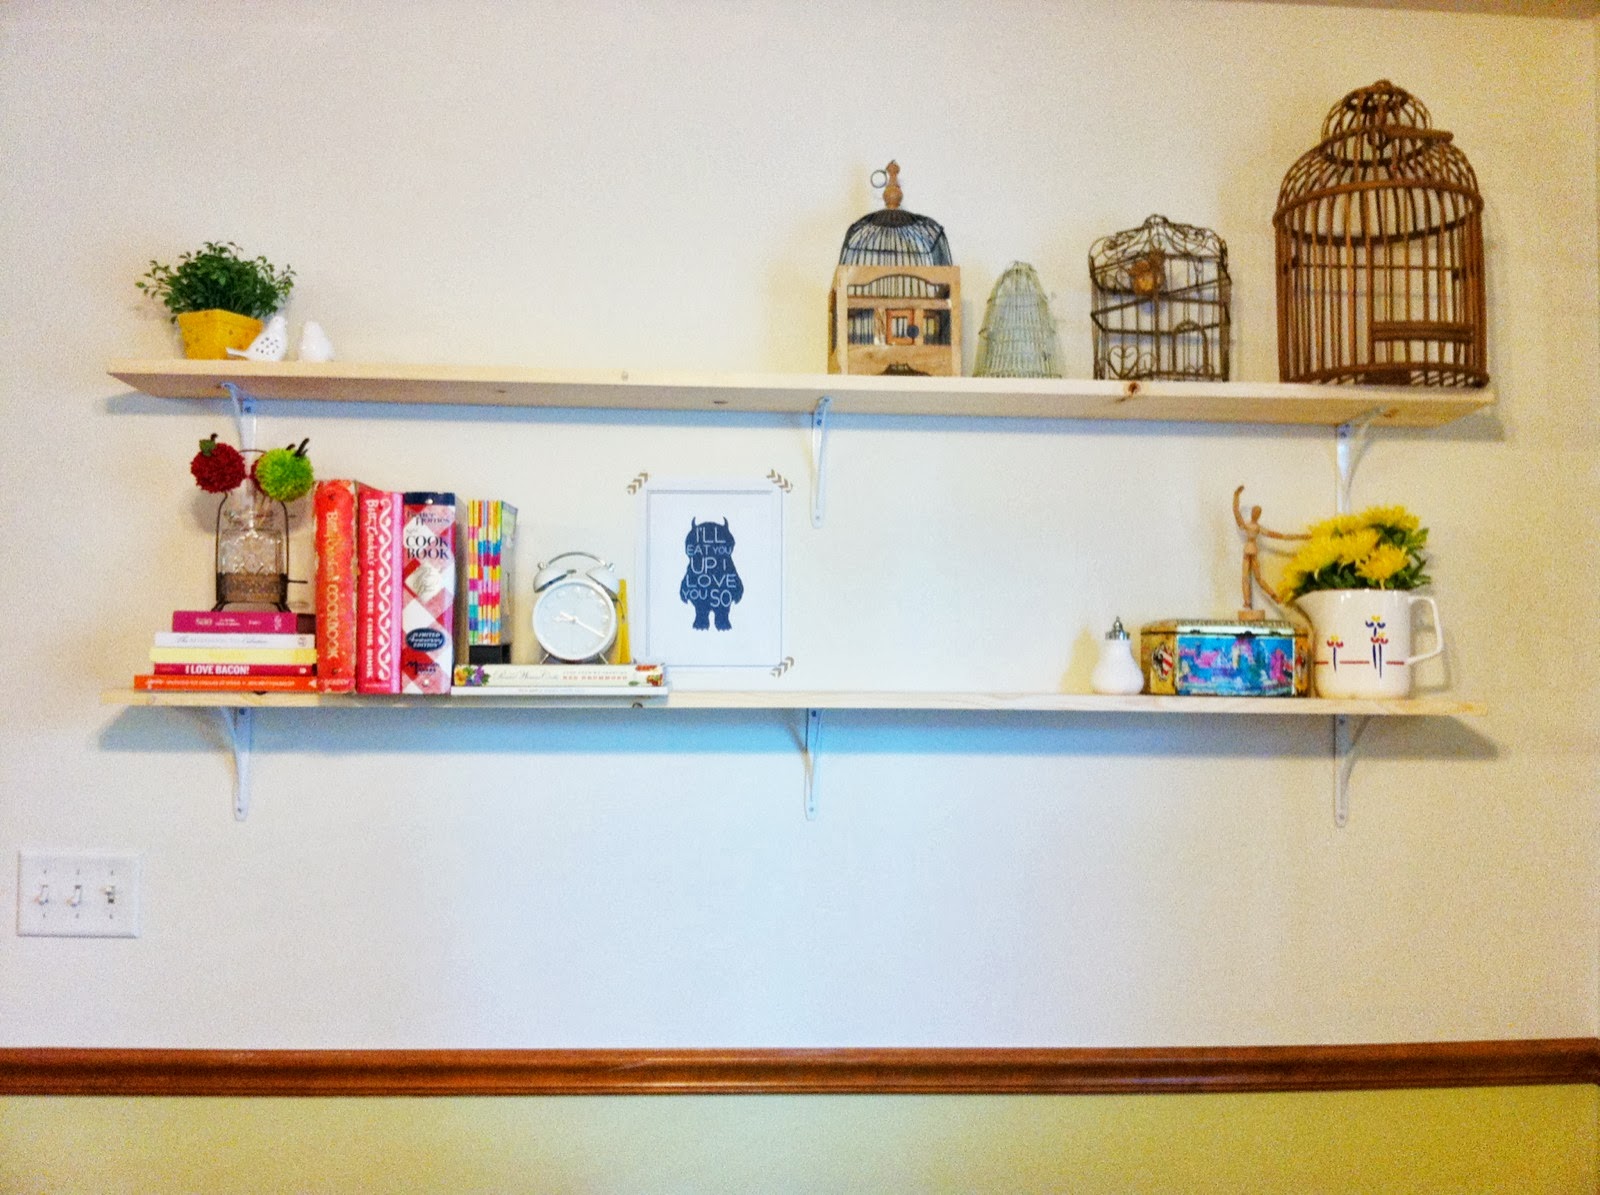
As our home continues to take shape, I may eventually stop rearranging things and enjoy where they are...wait, who am I kidding, this process never ends and I like it! Until then, on to my next project. We have this big blank wall in our dining room that has been begging for something fun. I have been looking for various bookshelves for our cookbooks, nicknacks, and things I don't want the kids to get into, but still have out. Everything I found either wasn't quite what I wanted or way too pricey and I felt stuck. My solution became a super simple (and easy!) set of shelves to both fill the space and be able to be rearranged when I get tired of it. Voila!
Supplies:: lumber- I used a 6 foot piece of the cheapest that I could find at my local hardware store: about $6, three brackets, level, pencil, wall anchors/screw set, drill (helper is optional)

1: Figure out where the center of your board is. This will be where your center bracket will go. 2: Mark your center on the wall using the bracket as a guide for the drill holes and mark with a pencil. 3: Drill a hole where your pencil marks are and hammer in an anchor to fit your screws. 4: Attach the bracket with the screws and then put the piece of lumber on top, matching your center mark and use two small screws to attach the lumber to the bracket. 5: Repeat these steps for both the left and right sides of the shelf. 6: Be sure to use a level to make sure your shelf is, well, level...because no one wants a wonky shelf.

xo
No comments:
Post a Comment